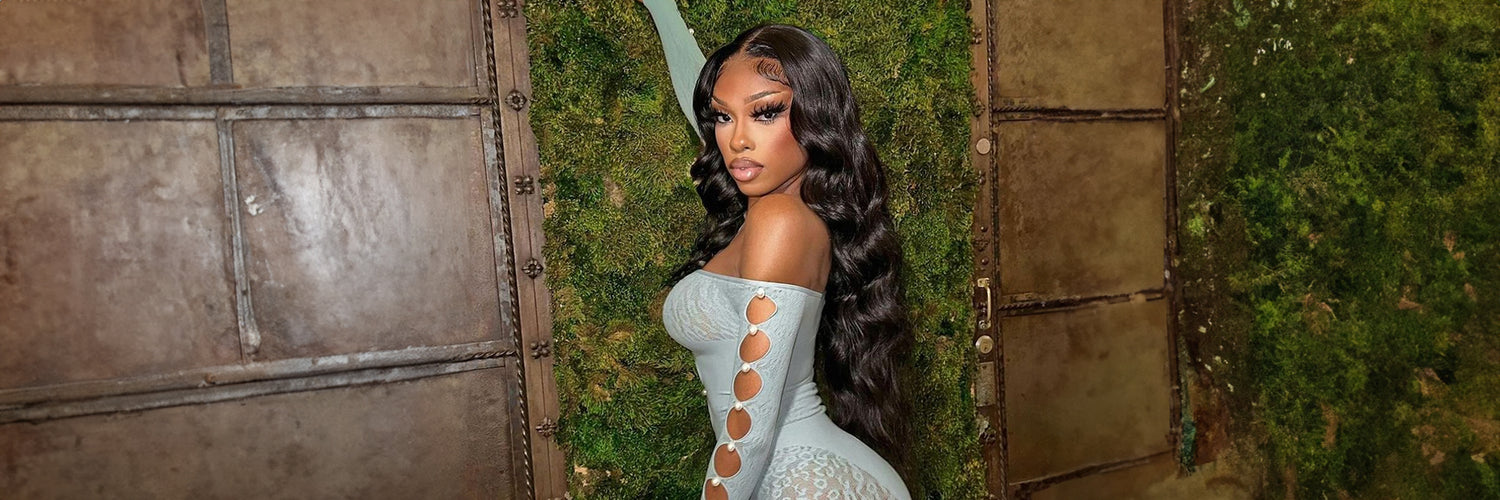
Installing a wig is not an easy task for a novice, for this reason, we address this pain point in this article and hope it will help.
1.Easy way to install wigs for beginners
If you are a beginner and are looking for an easy way to install a wig, it is recommended to use wig clips or combs. This method does not require any adhesives or complicated techniques and is therefore suitable for beginners.
Here is how to install a wig using wig clips or wig combs:
Prepare the hair: Braid natural hair or use a wig cap to create a flat base. This step helps ensure a smoother surface for wig placement.
Place the wig: Hold the wig with both hands and tilt your head slightly forward. Place the front edge of the wig above your eyebrows so that it lines up with your natural hairline.
Secure the wig clip or comb: Find the wig clip or comb that is secured inside the wig cap. Gently open the clips or combs and place them on top of your natural hair, preferably near your temples or sides of your head. Install the clip or comb: Once the clip or comb is in place, press them firmly into your natural hair. Make sure they are firmly attached to provide stable support for the wig.
Adjust the wig: Once the wig is trimmed or combed into place, make adjustments to ensure comfort and naturalness. Use the adjustable straps or hooks inside the wig cap to tighten or loosen the wig as needed. Make sure the wig is evenly placed and completely covers your natural hair.
Design your wig: Design your wig to your liking. You can use a wig comb or brush to gently comb through your hair and create the desired look. Avoid using heated styling tools unless the wig is specifically designed for it. This method is relatively simple and allows for easy installation and removal of the wig.
It is a good starting point for beginners because it does not involve any adhesives or complicated techniques. With practice, you can become more comfortable with different wig installation methods and explore other options to your liking.

2.Different ways of wig installation
There are many different ways to install a wig, and which method you choose depends on the type of wig and your personal preference. The following are a few different methods of wig installation:
Wig clips or wig combs:
Many wigs come with built-in wig clips or wig combs. These are small clips or combs that are attached to the inside of the wig cap. To install a wig using a clip or comb, place the wig on your head and either slide the comb into your natural hair or snap the clip on to hold the wig in place. This method is relatively simple and allows for quick installation and removal of the wig.
Wig adhesives/glues:
Using a wig adhesive or glue will provide a strong and long-lasting hold for your wig. The following is a basic guide to using adhesives: Prepare hair: Braid natural hair or use a wig cap to create a flat surface. Use a scalp protector: Use a scalp protector around the hairline to protect your skin.
Apply adhesive:
Apply a thin layer of wig adhesive or glue along the hairline or where the wig is to be attached. Let the adhesive dry: Wait for the adhesive to become sticky or follow the instructions provided with the particular adhesive you are using. Place the wig: carefully place the wig on your head, starting at the front, and press it onto the adhesive.
Secure the wig:
gently press the wig into the adhesive, making sure it is firmly in place. Use a scarf or wig clip to hold the wig in place until the adhesive is completely dry. Wig Tape: Wig tape is an alternative to adhesive and provides a firm hold.
Wig tape is used as follows:
Prepare hair: Braid natural hair or use a wig cap to create a flat surface. Use a scalp protector: Use a scalp protector around the hairline to protect the skin.
Cut the wig tape: Cut the wig tape into small strips.
Apply the tape: Place strips of tape along the hairline or where the wig will be applied, leaving a small gap between each strip of tape.
Place the wig: carefully place the wig on your head, starting at the front and pressing it onto the wig tape. Secure the wig: gently press the wig onto the tape to ensure a firm hold.
3.How to install a Wear and Go wig

To install a Wear and Go wig, you can follow these general steps:
Choose the right wig: Choose a wig that matches your preferred style, color and length. Make sure the wig is designed to be easy to wear and does not require extensive customization.
Prepare your natural hair: If you have long hair, consider braiding it or pulling it back tightly to create a flat base for the wig. For shorter hair, you can use a wig cap to create a smoother surface.
Clean the hairline: If there is any grease or residue on the forehead or hairline, clean it gently with a mild cleanser and make sure the area is dry before continuing.
Wear a wig cap (optional): If desired, wear a wig cap that matches your skin tone. This will help hold your natural hair in place and provide a smooth base for the wig.
Place the wig: Hold the wig with both hands and tilt your head slightly forward. Place the front edge of the wig above your eyebrows so that it lines up with your natural hairline. Gently stretch the wig backward until it fits securely on your head.
Adjusting the wig: Once the wig is in place, make adjustments to ensure a comfortable and secure fit. Use the adjustable straps or hooks inside the wig cap to tighten or loosen as needed. Make sure the wig is placed evenly and looks natural.
Design the wig: Design the wig to your liking. You can use a wig comb or brush to gently comb through your hair. Avoid using heated styling tools unless the wig is specifically designed for it.
Secure the wig: Some "wear-and-go" wigs come with built-in clips or combs. If your wig has these features, use them to secure the wig to your natural hair for added stability. Or, you can use bobby pins to carefully secure the wig.
Blend with your natural hair: If there is any visible hair around the edges of the wig, you can blend it with the wig using a small amount of hairspray, hair gel or concealer that matches your hair color.

4.How to install a wig in 3 minutes
If you are looking for a quick way to install a wig in just three minutes, you can try the following simplified method:
Prepare your hair: Comb your natural hair to the back of your head and secure it with a hair tie or braid it close to your scalp. This step helps create a flat surface for the wig.
Put on a wig cap (optional): If you have a wig cap, put it on to help secure your hair and create a smooth base for your wig. Make sure the wig cap matches your skin tone for a more natural look.
Place the wig: Hold the wig with both hands and tilt your head slightly forward. Place the front edge of the wig above your eyebrows so that it lines up with your natural hairline.
Putting on the wig: Gently place the wig over your head, starting from the front and moving backwards. Make sure the wig completely covers your natural hair and is securely fastened.
Adjust the wig: Use your fingers to adjust the position of the wig so that it fits comfortably on your head. Make sure the wig is aligned with your natural hairline and feels secure.
Secure with wig clips (optional): If your wig has built-in wig clips or a wig comb, open them and press them into the natural hair near the temples or on the sides. This helps provide extra security for the wig.
Design as needed: Use your fingers or a wig comb or brush to design your wig to your liking. You can create different looks by separating the hair, adding volume or using styling products (if applicable).
Keep in mind that this is a simplified method and may not involve additional steps such as using adhesives or wig tape.
Note that the time required for installation may vary depending on the type of wig, your familiarity with the process, and your desired level of customization and styling.

Conclusion
This is a tutorial on how to install a wig for beginners. If you have any questions about how to install a wig or Arabella Hair products, please contact us!